Texas storm season is knocking at your door.
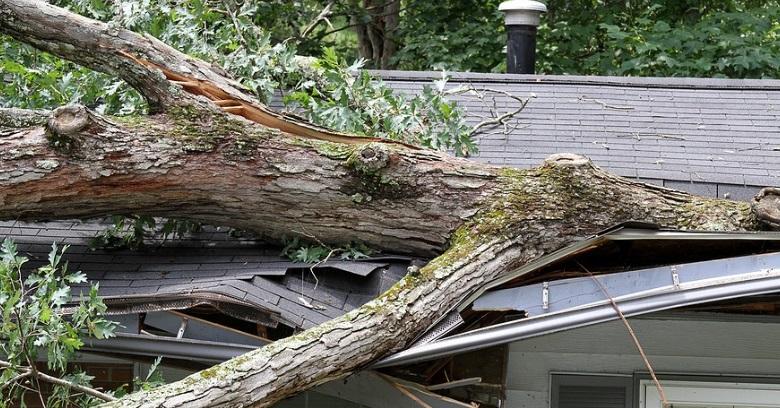
While getting through the bad weather without storm damage is always the goal, are you prepared to take quick action if your roof is damaged?
Roof services receive a high number of calls right after storms, meaning there could be a waiting list before repairs are made.
Keeping that in mind, you can protect your roof while waiting for a storm damage roofer to arrive using this simple tarping method!
What You Need To Tarp A Storm Damaged Roof
Protecting your roof with a tarp after it sustains storm damage is highly recommended and fortunately, fairly easy to do.
Before climbing up to make the temporary repair until storm damage roofer repair can be made, get all the necessary supplies together:
- Canvas tarps from the hardware store that are as think as possible and large enough to cover the damage.
- Multiple lengths of 2x4 wood, enough to go around the damaged area being tarped.
- Hammer, nails, and screw gun with long wood screws.
- Sharp utility knife for trimming the tarp to size.
- Tape measure
- Ladder
Wait until the storm with its rain and lightning has passed to do your temporary repair to protect your roof before the roofer can get there.
Also, always use safety gear like work gloves and eye protection whenever working with tools and small parts that could cause injury.
Tarp A Storm-Damaged Roof In 4 Easy Steps
With your supplies assembled, you can tarp over storm damage to your roof until a roof service can get there using these 4 simple steps:
- Measure - Measure the area of storm damage to determine the size of the tarp you need. Use a large or multiple tarps, as the tarps should cover from the ridge all the way down to the eaves to keep water from getting underneath, leaving an extra 4 feet or so on all four sides.
- Prepare the Tarp - Leaving a 4-foot section of the top of the tarp unattached, fasten both side edges of the tarp to 2x4 boards all the way down from the ridge to the roof edge. Nail the tarp to the wood, then make a sandwich with another 3x4 board on top. You should end up with both edges of the tarp sandwiched between 2x4 boards and the top and bottom still loose. Sandwich the top edge to more 2x4 boards the same way.
- Position the Tarp - Align the top of the 2x4s at the roof peak so they reach down to the edge at the eaves and the tarp covers over the area of damage. Drape the extra 4 feet of the tarp at the top over the ridge so it sits on the other side of the roof. The entire length of the roof from ridge to eaves should be covered by the tarp.
- Secure the Tarp - With the top edge of the tarp hanging over the ridge to the other side of the roof, use long wood screws to screw through both 2x4 boards to affix them, and the sandwiched tarp, to the damaged side of the roof. Do the same with the 2x4s hanging on the other side to keep the flap secured. Then roll the edge of the tarp at the bottom under the eaves and secure there with shorter screws.
Tarp A Storm Damaged Roof While Waiting For Roofer Services
Using this method, you can easily protect areas of storm damage on your roof while waiting for a professional repair.
It is the same technique used by professional storm damage roofers when covering damaged or unfinished areas of roofing is necessary.
Done correctly, tarping using this roof service technique will keep the area dry, preventing additional damage and making it easier to do the final repair.
If you live in a storm-prone area, prepare by keeping a tarp and these other supplies handy so it is possible to cover sections of your roof quickly should it become necessary!